Storm season hits Long Island hard every year. This checklist helps homeowners inspect, repair, and protect their roofs before the next hurricane or nor'easter arrives.
Long Island gets hit harder than most places. Nor’easters roll through with 50 to 60 mph winds. Hurricanes threaten the coast every season. Winter dumps feet of snow on roofs that weren’t built for the weight. Your roof deals with salt air, temperature swings, and debris from storms you forgot about months ago.
Most homeowners don’t think about their roof until something goes wrong. That’s a mistake. Small problems turn into big ones fast when a storm hits. A loose shingle becomes a missing shingle. A tiny crack becomes a leak. Water gets under your roofing materials, into your attic, down your walls. Before you know it, you’re dealing with mold, rotted wood, and a repair bill that could’ve been avoided.
The goal isn’t to make your roof bulletproof. It’s to make sure it can do its job when the weather gets rough. That means catching problems early, fixing what needs fixing, and knowing when to call in someone who can spot what you can’t.
Long Island sits right in the path of some serious weather. Nor’easters are slow-moving systems that can linger for days, dumping rain and pushing wind speeds that rival hurricanes. They happen 20 to 40 times a year, and at least two of those are severe enough to cause real damage. Add in the occasional hurricane, and your roof is basically in a fight every season.
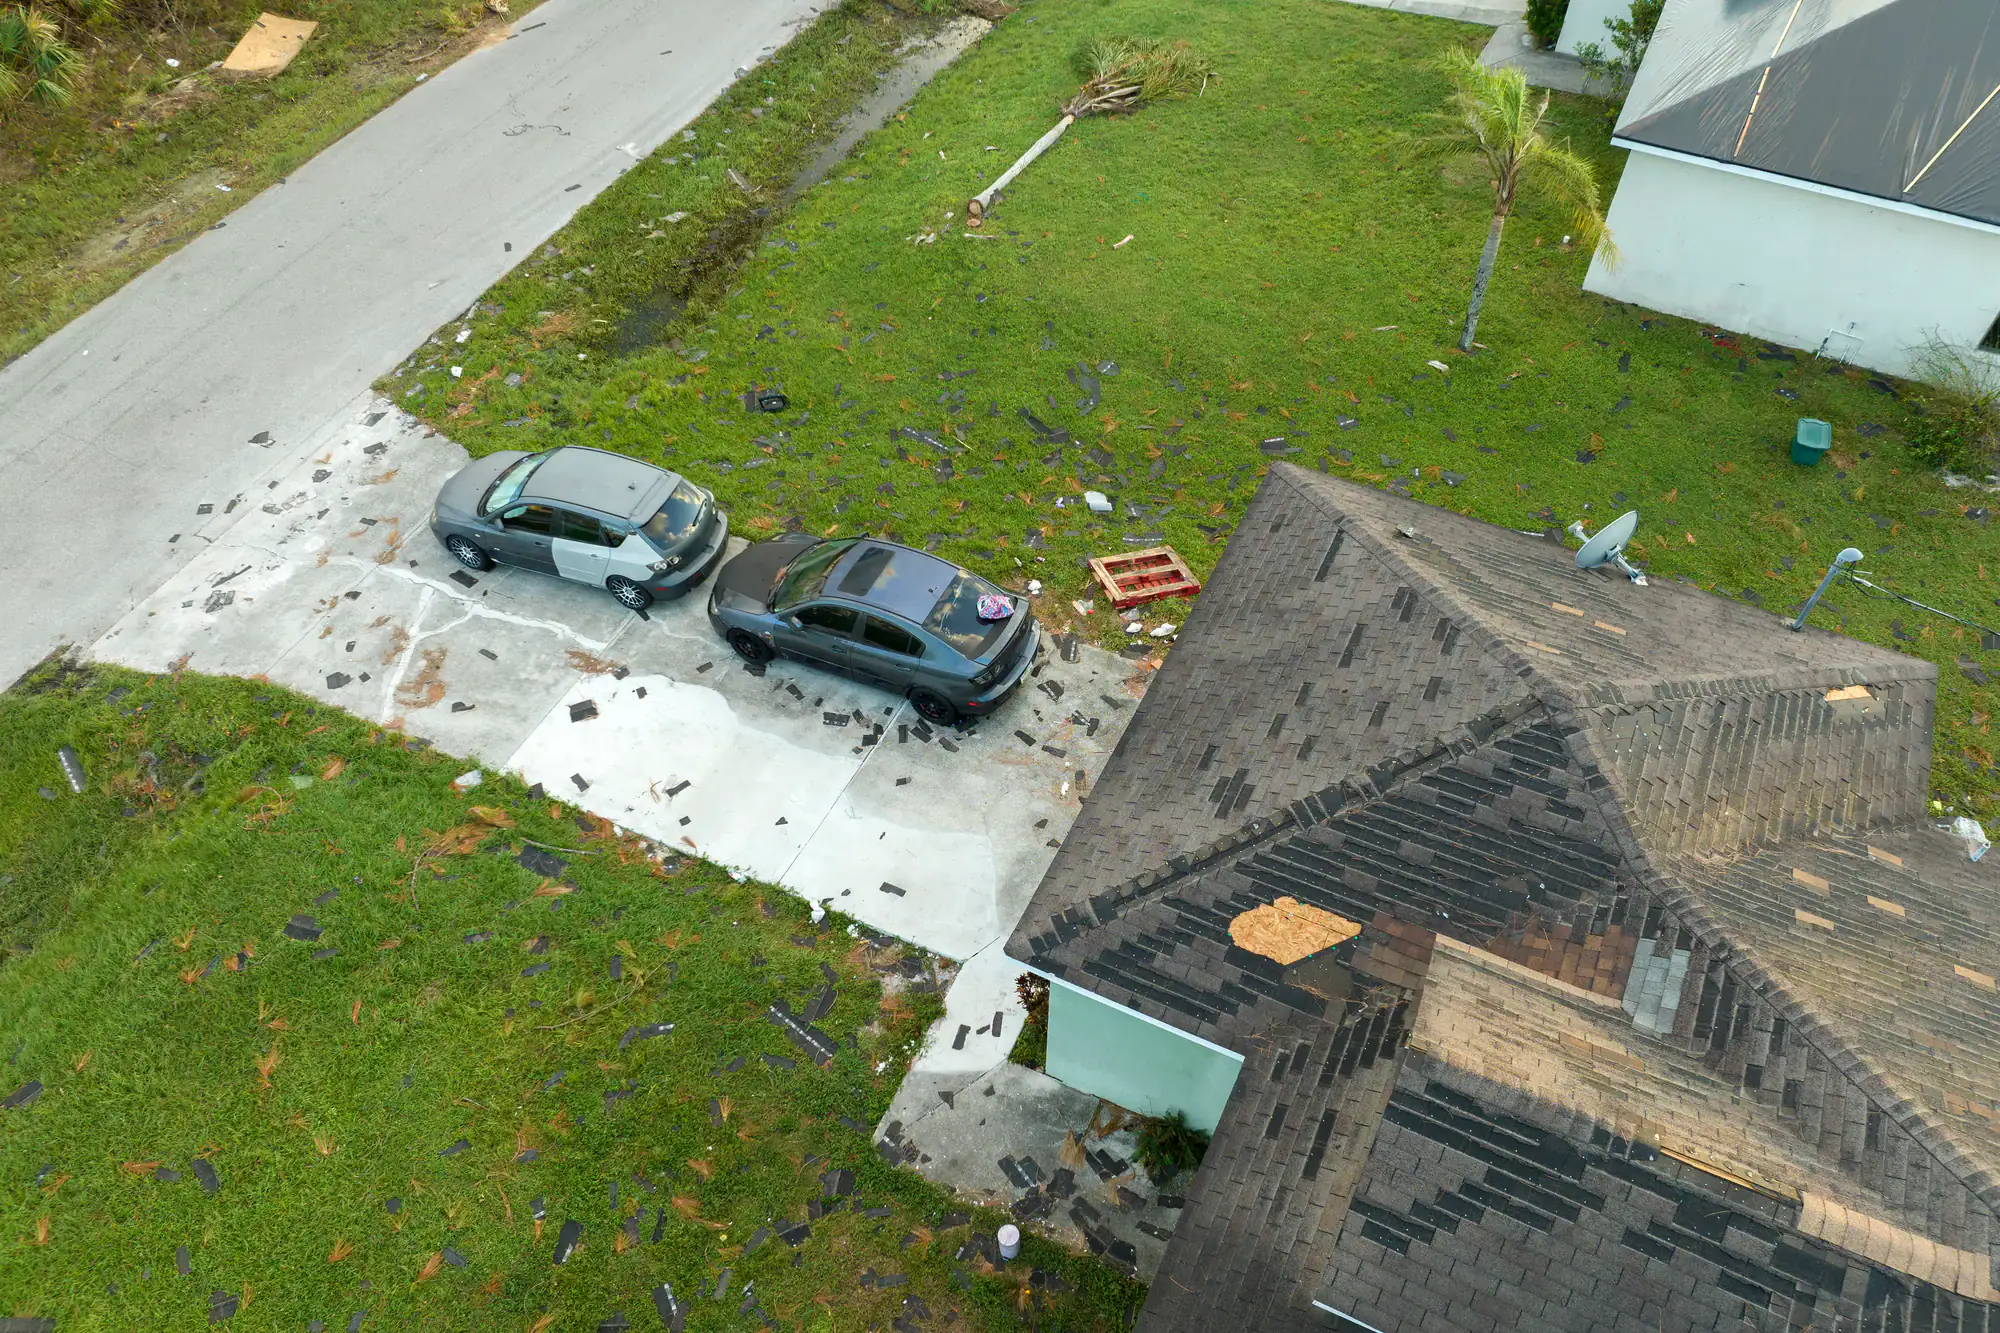
Wind is the biggest threat. When gusts hit 50 or 60 mph, they don’t just blow past your house—they get under your shingles and try to rip them off. If your shingles are already loose or your sealant has weakened over time, the wind doesn’t need much to finish the job. Once one shingle goes, the ones around it are next. Then you’ve got exposed roof deck, and rain is pouring straight into your home.
Flying debris is the other problem. Tree branches, patio furniture, anything that wasn’t tied down becomes a projectile. When that stuff hits your roof, it cracks shingles, dents flashing, and punches holes that let water in. Even if the damage looks minor from the ground, it’s creating weak spots that the next storm will exploit.
Then there’s the rain. Long Island storms don’t just drizzle—they dump water in sheets. If your gutters are clogged or your flashing is compromised, that water backs up under your shingles and soaks into your roof deck. Over time, that leads to rot, mold, and structural damage that costs a fortune to fix. The worst part is, you might not even know it’s happening until you see a stain on your ceiling or smell something musty in the attic.
Winter adds another layer of trouble. Heavy snow piles up, putting weight on your roof it wasn’t designed to carry. Ice dams form when heat escapes through your attic, melting snow that refreezes at the edge of your roof. That ice blocks water from draining, forcing it back under your shingles. By spring, you’re dealing with leaks, damaged insulation, and repairs that could’ve been prevented with a little prep work.
The point is, your roof isn’t just sitting there looking pretty. It’s actively fighting off wind, water, debris, and temperature extremes. If it’s not in good shape before storm season starts, it’s not going to hold up when you need it most.
You don’t need to be a roofer to spot obvious problems, but you do need to know what to look for. Start from the ground. Walk around your house and look up at your roof from every angle. Are there shingles on the ground? That’s a red flag. Shingles don’t just fall off for no reason—they either blew off in a storm or they’re so worn out they gave up. Either way, you’ve got gaps in your roof’s protection.
Check your gutters next. If they’re full of shingle granules—those little sandy bits that coat asphalt shingles—your roof is losing its protective layer. That means your shingles are breaking down, and they won’t hold up as well in the next storm. Clogged gutters are another issue. If water can’t drain properly, it backs up onto your roof and finds its way inside. Clean them out, and make sure your downspouts are directing water away from your foundation.
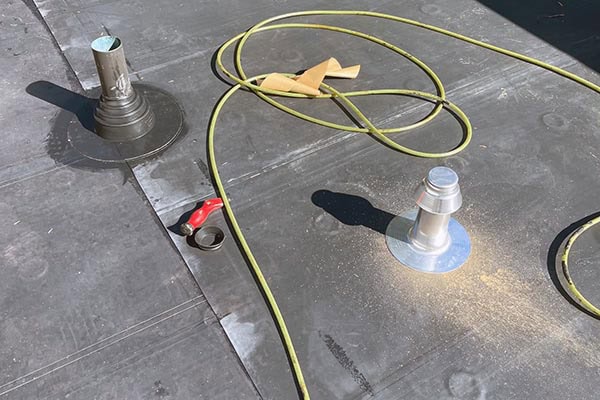
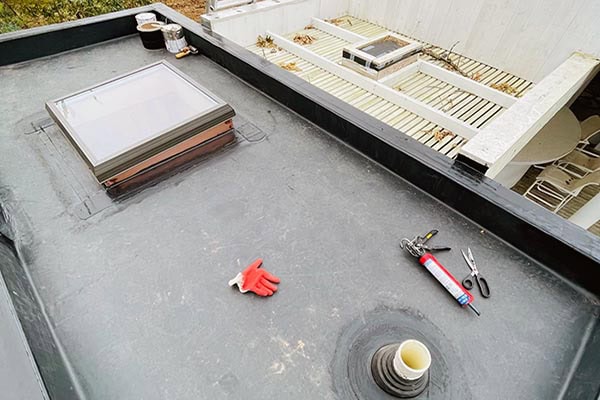
Look at your roof’s edges and valleys. These are the spots where water collects and flows, which makes them the most vulnerable to leaks. Check the flashing around your chimney, vents, and skylights. Flashing is the metal or rubber seal that keeps water from sneaking into the gaps where your roof meets other structures. If it’s cracked, bent, or pulling away, water’s getting in. You might not see the leak right away, but it’s happening.
Go inside your attic if you can. Bring a flashlight and look for water stains on the underside of your roof deck. Dark spots, streaks, or discoloration mean water’s been getting in. Check your insulation too—if it’s damp or compressed, that’s a sign of a leak. While you’re up there, look for daylight coming through the roof. If you can see light, water can get in.
Don’t ignore small stuff. A single loose shingle might not seem like a big deal, but in a storm, it becomes a starting point for bigger damage. Wind gets under that one shingle, lifts the ones around it, and suddenly you’ve got a section of roof that’s compromised. Same goes for cracked sealant or missing nails. These are easy fixes now, but they turn into expensive problems later.
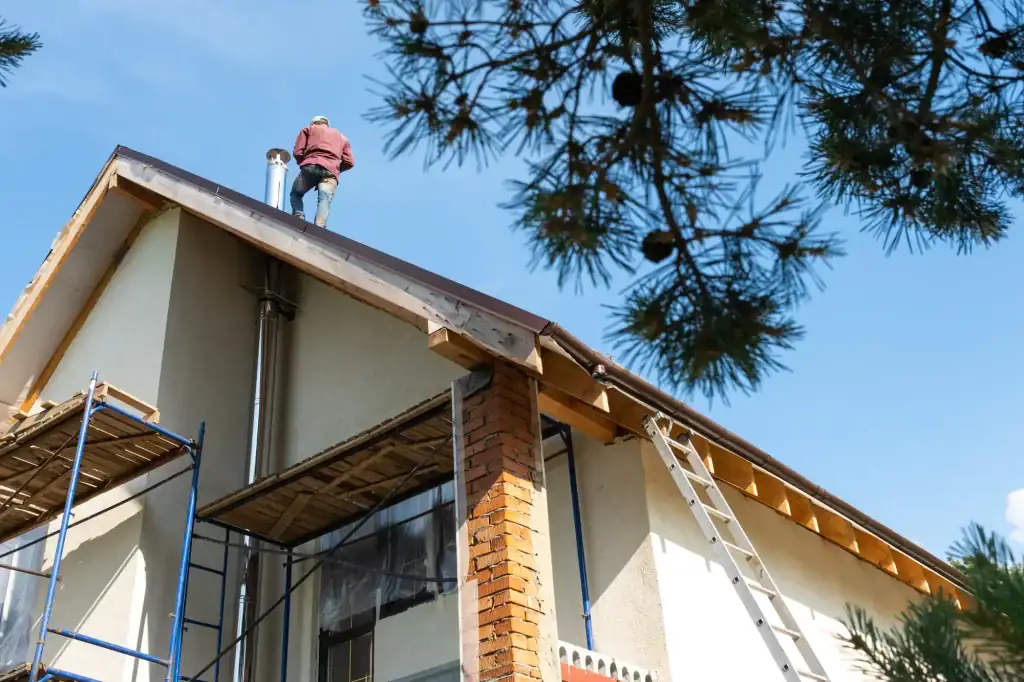
If you’re not comfortable getting on a ladder or you’re not sure what you’re looking at, call a professional. A roof inspection from Long Island contractors will give you a thorough assessment, photos of problem areas, and a clear explanation of what needs to be fixed. Some companies offer free inspections, especially before storm season. It’s worth it to get a trained eye on your roof, because they’ll catch things you’d never notice.
The key is to inspect your roof at least twice a year—once in the spring after winter’s done its damage, and once in the fall before storm season ramps up. And always check after a major storm, even if everything looks fine from the ground. Damage doesn’t always announce itself right away.
Once you know what’s wrong, fix it. Don’t wait. Every day you delay is another day your roof is vulnerable. Some repairs are straightforward—replacing a few shingles, resealing flashing, clearing debris. Others need a professional. The trick is knowing which is which.
If you’ve got loose or missing shingles, get them replaced. Shingles are your roof’s first line of defense, and gaps leave your roof deck exposed to water. Even if it’s just one or two, don’t assume it’s no big deal. Wind and rain will find those spots and make them worse. Replacing shingles is relatively cheap and fast when you catch it early.
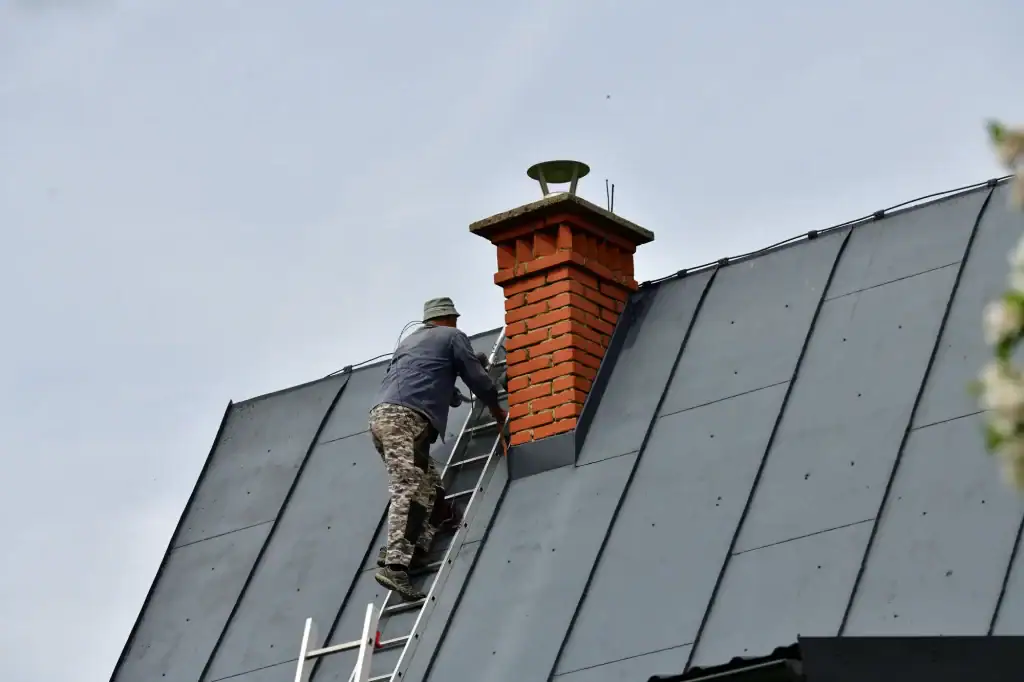
Flashing repairs are non-negotiable. If your flashing is cracked, rusted, or pulling away from the roof, water’s getting in. Flashing around chimneys, vents, and skylights is especially important because those are the spots where your roof has the most seams. A professional can reseal or replace flashing in a few hours, and it’ll save you from major water damage down the road.
You can do some roof prep yourself—cleaning gutters, trimming trees, checking for obvious damage. But there’s a limit to what you can see from the ground or a ladder. Professional roofers know what to look for because we’ve seen it all. We know how wind damage starts, where water likes to hide, and which problems are urgent versus which ones can wait.
A professional roof inspection goes beyond what you can do on your own. We check the structural integrity of your roof deck, the condition of your underlayment, and the quality of your sealant. We test shingles for brittleness, look for hidden leaks, and assess whether your roof can handle another season of Long Island weather. We’ll also catch problems that don’t look like problems yet—like shingles that are starting to curl or flashing that’s beginning to separate.
The other advantage is documentation. If a storm does damage your roof, having recent inspection reports and repair receipts makes the insurance claim process a lot smoother. You can prove your roof was in good shape before the storm, which strengthens your case for coverage. Insurance companies like to see that you’ve been maintaining your roof, because it shows you’re not trying to blame old damage on a recent storm.
Professional roofers also have the tools and experience to make repairs correctly. A DIY shingle replacement might look fine, but if it’s not sealed properly or the nails aren’t in the right spot, it won’t hold up in a storm. We know the building codes, the manufacturer specs, and the best practices that keep your roof watertight. We also have access to materials that match your existing roof, so repairs blend in and don’t create weak spots.
And then there’s safety. Roofs are dangerous, especially after a storm when they might be wet, damaged, or structurally compromised. One wrong step and you’re looking at a hospital bill on top of a repair bill. Professionals have the training, equipment, and insurance to do the job safely. It’s not worth risking your neck to save a few bucks.
The cost of a professional inspection and a few repairs is a fraction of what you’d pay for emergency storm damage repairs. A missing shingle costs maybe fifty bucks to replace. A new roof because water got into your attic and rotted the deck? That’s tens of thousands. The math is pretty simple.
When you know a storm’s coming, you’ve got a narrow window to get your house ready. Your roof should already be in good shape if you’ve been keeping up with roof maintenance NY homeowners need, but there are a few last-minute steps that can make a big difference.
First, clear everything off your roof and out of your yard. Patio furniture, grills, tools, toys—anything that can blow around needs to be tied down or brought inside. If a storm picks up a lawn chair and throws it at your roof, it’s going to do damage. Same goes for tree branches. If you’ve got limbs hanging over your roof, trim them back. In high winds, those branches become battering rams.
Check your gutters one more time. If they’re clogged, water’s going to back up onto your roof during the storm. Clean them out, and make sure your downspouts are clear and pointing away from your foundation. You don’t want water pooling around your house during a heavy rain. This simple step is critical for storm damage prevention and protecting your home’s foundation.
Inspect your attic ventilation. Proper airflow helps prevent moisture buildup, which is especially important during and after a storm. If your vents are blocked by debris or insulation, clear them out. Good ventilation also helps prevent ice dams in the winter, so it’s worth checking even if the storm’s not a snow event.
If you’ve got a tarp, keep it handy. If your roof does get damaged during the storm, you’ll want to cover the affected area as soon as it’s safe to do so. A tarp won’t fix the problem, but it’ll keep more water from getting in while you wait for a roofer to make permanent repairs. Make sure the tarp is big enough to cover the damaged area plus a few feet on all sides, and have some rope or bungee cords ready to secure it.
Take photos of your roof and your property before the storm hits. If you end up filing an insurance claim, you’ll need proof of your roof’s condition before the damage occurred. Walk around your house, take pictures from every angle, and document anything that’s already been repaired. Save those photos somewhere safe—cloud storage is a good option so they don’t get lost if your phone or computer gets damaged.
Know who to call if something goes wrong. Make sure your roofer offers emergency services. Some companies have 24/7 availability for storm damage, which means you won’t be stuck waiting days for help if your roof gets hit. If you don’t have a roofer you trust, find one before storm season starts. You don’t want to be scrambling to find someone reputable when half the neighborhood is calling for repairs.
Finally, review your insurance policy. Know what’s covered, what your deductible is, and what the claims process looks like. If you’re not sure, call your agent and ask. The last thing you want is to be surprised by what your policy doesn’t cover after your roof’s already been damaged.
Storm prep isn’t glamorous, but it’s effective. Following this roofing checklist before the storm can save you weeks of headaches and thousands of dollars in repairs. And if the storm ends up being a dud, you’ve still got a cleaner roof, clearer gutters, and peace of mind.
Your roof’s job is to protect everything underneath it—your family, your belongings, your investment. But it can only do that if you give it the maintenance it needs. Storm season on Long Island is predictable. The weather’s going to test your roof. The question is whether your roof’s ready.
Start with an inspection. Look for loose shingles, damaged flashing, clogged gutters, and signs of leaks. Fix what needs fixing, and don’t put it off. Small problems turn into expensive disasters when a storm hits. If you’re not sure what you’re looking at, bring in a professional. We’ll catch the stuff you’d miss and give you a clear plan for getting your roof storm-ready.
Preparing your roof isn’t about panic or perfection. It’s about being smart, proactive, and honest about what your roof can handle. When the next hurricane or nor’easter rolls through, you’ll be glad you did the work. If you need help getting your roof ready for storm season in Nassau County or Suffolk County, we’ve been protecting Long Island homes for over 20 years. We know the weather, we know the roofs, and we know how to keep both from becoming your problem.
Article details:
Share:
Continue learning: