Thinking about skylights for your Long Island home? Learn how professional installation brings natural light, prevents leaks, and saves on energy costs.
When you install a skylight the right way, you’re not just adding a window in your ceiling. You’re changing how a room works. Natural light reaches corners that wall windows can’t touch. Spaces feel bigger. Mornings feel different.
But here’s the thing about Long Island specifically: we’ve got coastal humidity, salt air, nor’easters, and temperature swings that test every piece of your home’s exterior. A skylight installed without understanding those conditions won’t just underperform—it’ll cause problems you didn’t sign up for.
Professional skylight installation means proper flashing that actually diverts water. It means sealing that holds up when moisture tries to find its way in. It means understanding your roof’s pitch, your home’s structure, and which skylight type makes sense for the space you’re working with.
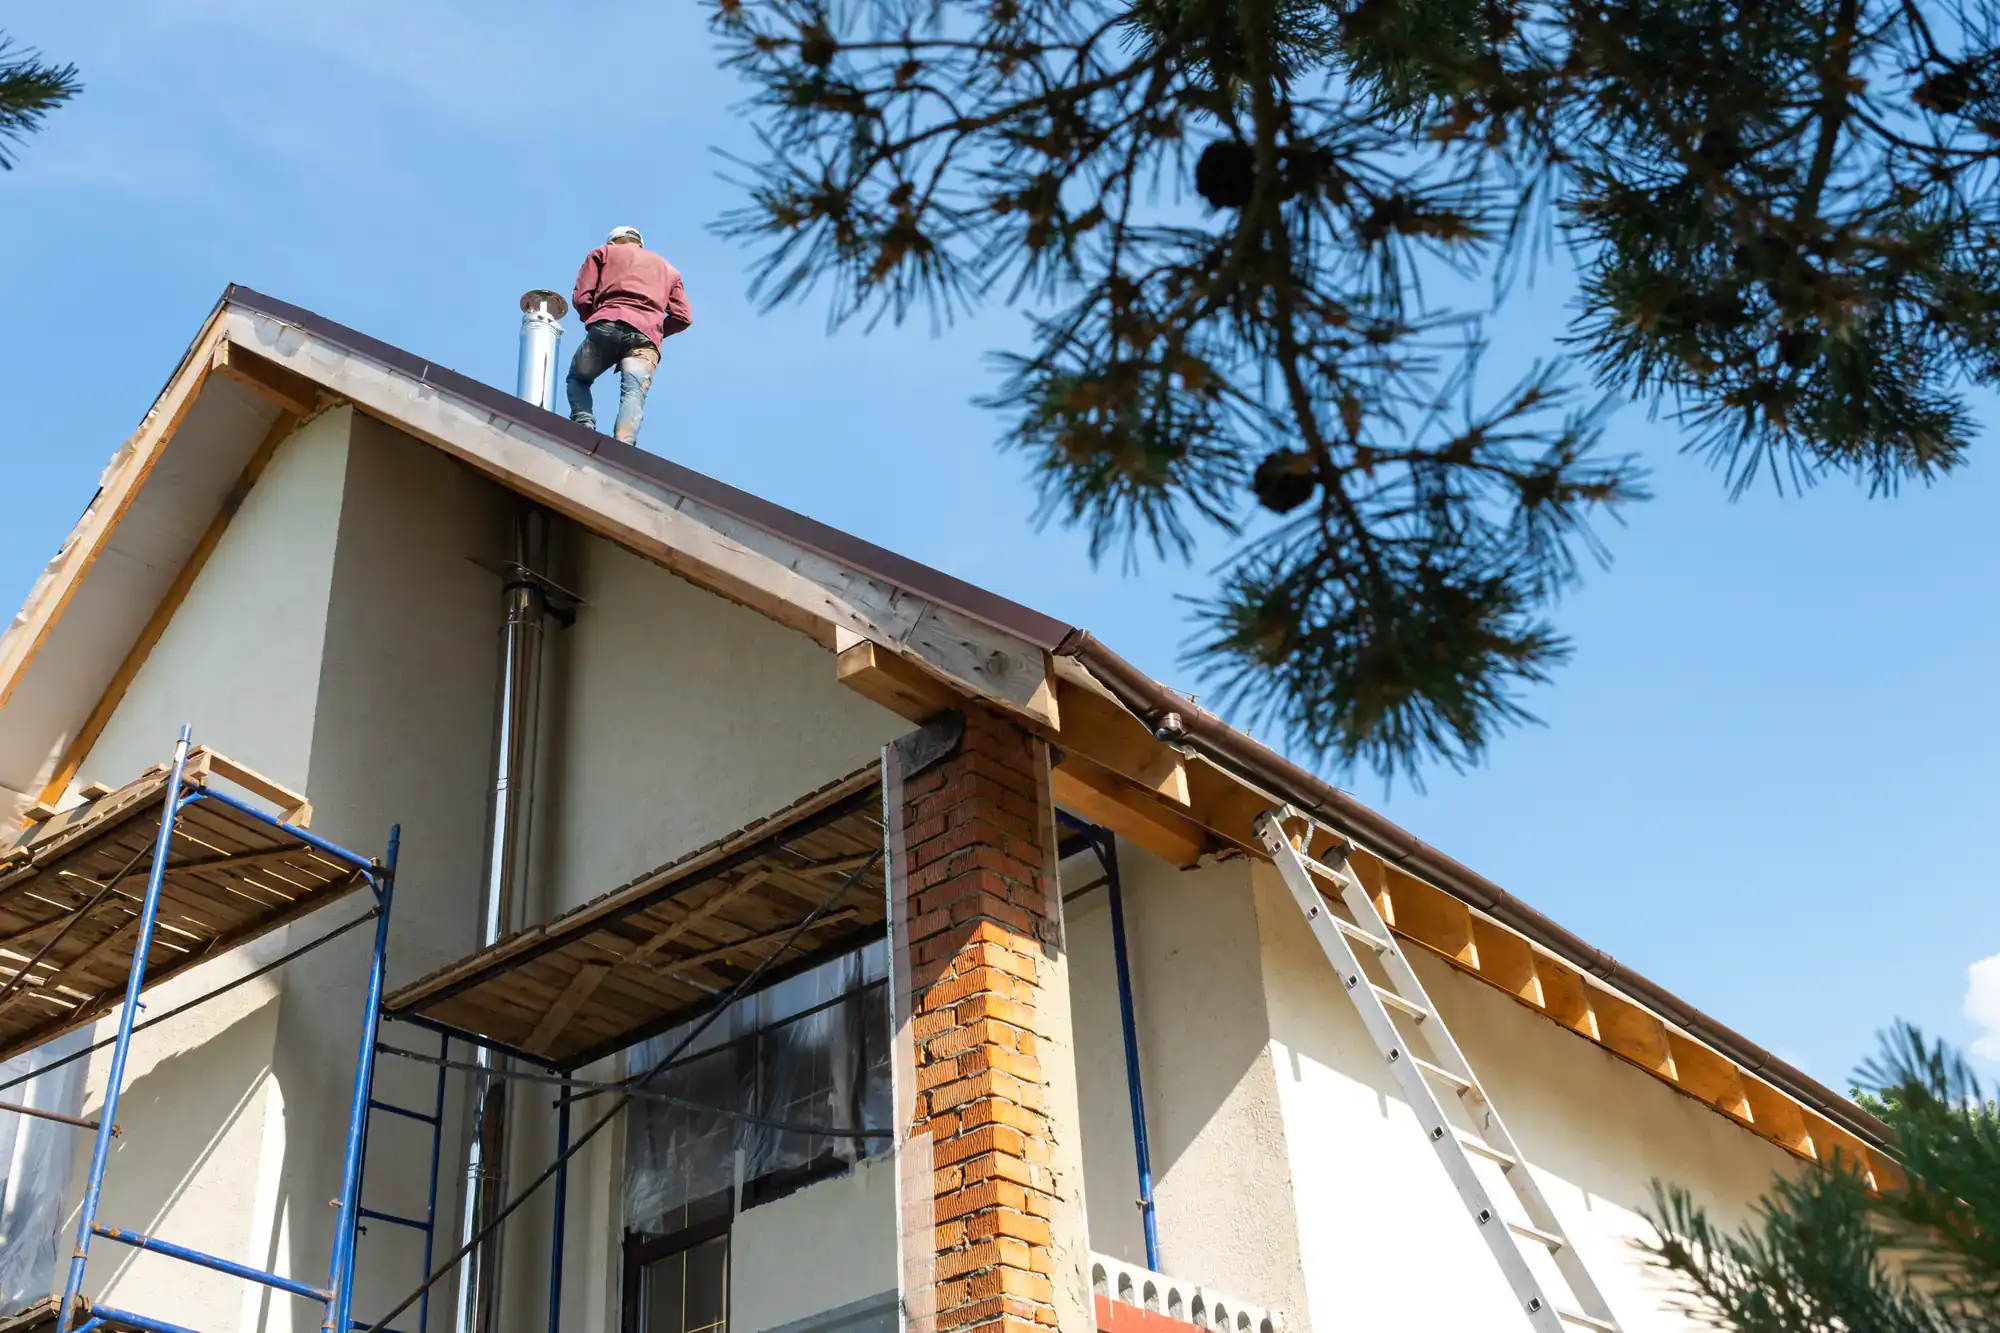
The installation process starts with your roof, not the skylight itself. We examine your roof structure, check rafter spacing, and determine where the skylight can go without compromising structural integrity. This isn’t guesswork—it’s about knowing what your roof can handle and where the light will actually benefit the room below.
Once the location is confirmed, we cut through the roof deck with precision. This is where experience separates good installations from disasters waiting to happen. The opening needs to be exact. The framing around it needs reinforcement. And the flashing—that metal work that keeps water out—needs to integrate seamlessly with your existing roofing material.
Flashing is where most skylight leaks actually originate, not from the skylight unit itself. Professional installation uses step flashing, counter flashing, and proper overlap techniques that create multiple barriers against water intrusion. On Long Island, where heavy rains and winter ice are regular occurrences, this attention to flashing detail isn’t optional.
After the exterior work is complete, the interior finishing begins. Depending on your ceiling type, this might involve building a light shaft—the tunnel that connects your ceiling to the roof opening. A well-designed light shaft doesn’t just pass light through; it diffuses and directs it to maximize the benefit throughout the room.
The entire installation typically takes one to three days for a new skylight, depending on complexity. Replacing an existing skylight is faster—usually just a few hours—because the opening and support structure already exist. Either way, the job isn’t done until the area is sealed, tested, and cleaned up completely.
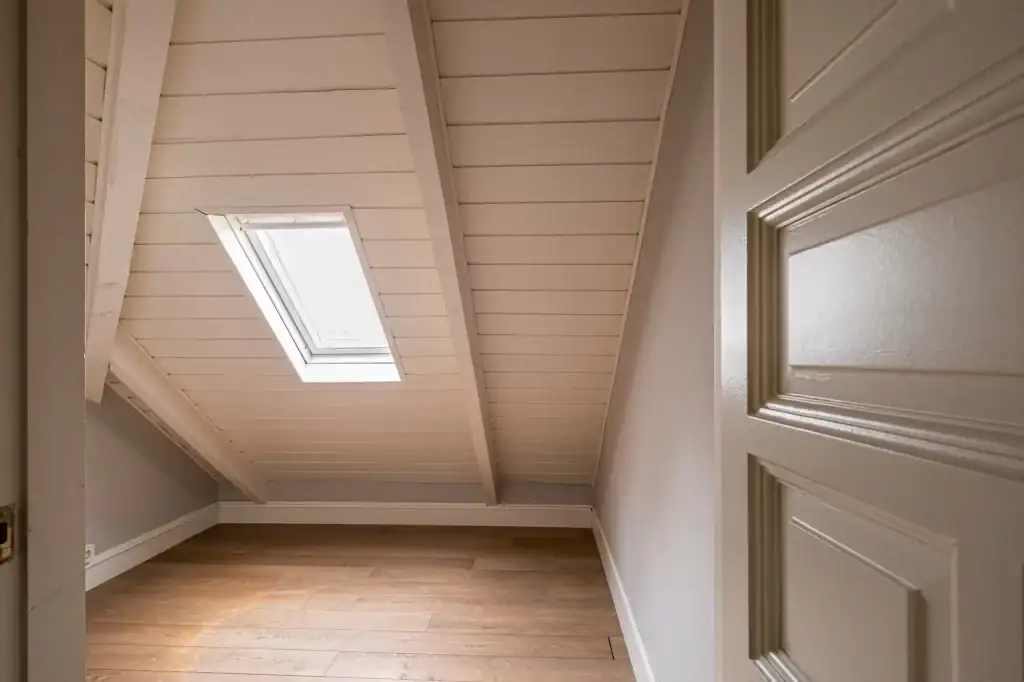
Fixed skylights are exactly what they sound like—sealed units that don’t open. They’re the most common choice because they’re leak-resistant, energy-efficient, and perfect for out-of-reach locations like vaulted ceilings or high walls. If your only goal is bringing natural light into a space, a fixed skylight does that job reliably without the complexity of moving parts.
Vented skylights open to allow airflow, which makes them ideal for kitchens, bathrooms, or any room where moisture and heat tend to accumulate. You can operate them manually with a pole or crank, or opt for electric models with remote controls and rain sensors that automatically close when moisture is detected. The ventilation benefit is real—hot air rises, and a vented skylight provides an escape route that can reduce your reliance on air conditioning during Long Island’s humid summers. The tradeoff is higher cost and slightly more maintenance since you’re dealing with seals and moving mechanisms.
Tubular skylights work differently than traditional skylights. Instead of a large glass panel, they use a small rooftop dome connected to a reflective tube that channels sunlight down to a ceiling diffuser. Think of it like a periscope for light. These are perfect for tight spaces—hallways, closets, small bathrooms—where a full skylight won’t fit or isn’t necessary. They’re also the most affordable option, typically costing $600 to $1,100 installed compared to $1,500 to $5,000+ for traditional skylights.
Each type has its place. A fixed skylight works beautifully in a living room with a cathedral ceiling. A vented skylight makes sense above a kitchen island where cooking heat builds up. A tubular skylight solves the problem of a dark interior bathroom that has no access to exterior walls. The key is matching the skylight type to what the space actually needs, not just picking based on price or appearance.
A leaking skylight doesn’t get better on its own. What starts as a small drip during heavy rain turns into stained drywall, then damaged insulation, then mold you can’t see but definitely have. Every storm becomes a countdown, and you’re left wondering if this is the one that finally causes serious damage.
Most skylight leaks aren’t actually the skylight’s fault. They’re flashing failures—deteriorated seals, improperly installed metal work, or age-related breakdown of the waterproofing system around the unit. The good news is that many leaks can be repaired without replacing the entire skylight. The key is diagnosing where the water is actually entering, which isn’t always where you see it dripping.
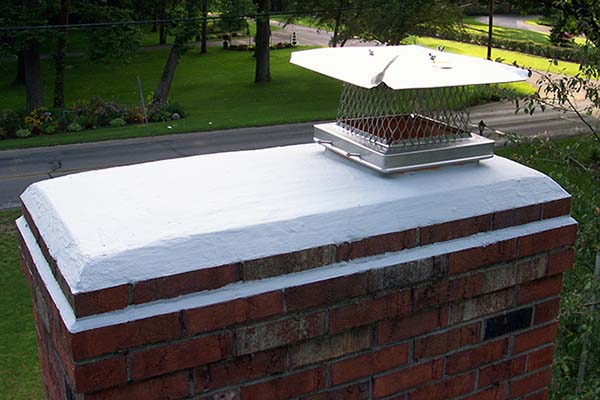
Flashing problems cause the majority of skylight leaks. The metal flashing around your skylight is designed to channel water away from the opening, but over time, seals degrade, metal corrodes, or the flashing simply wasn’t installed correctly in the first place. On Long Island, where salt air accelerates corrosion and freeze-thaw cycles stress every seal, flashing that’s even slightly compromised will eventually leak.
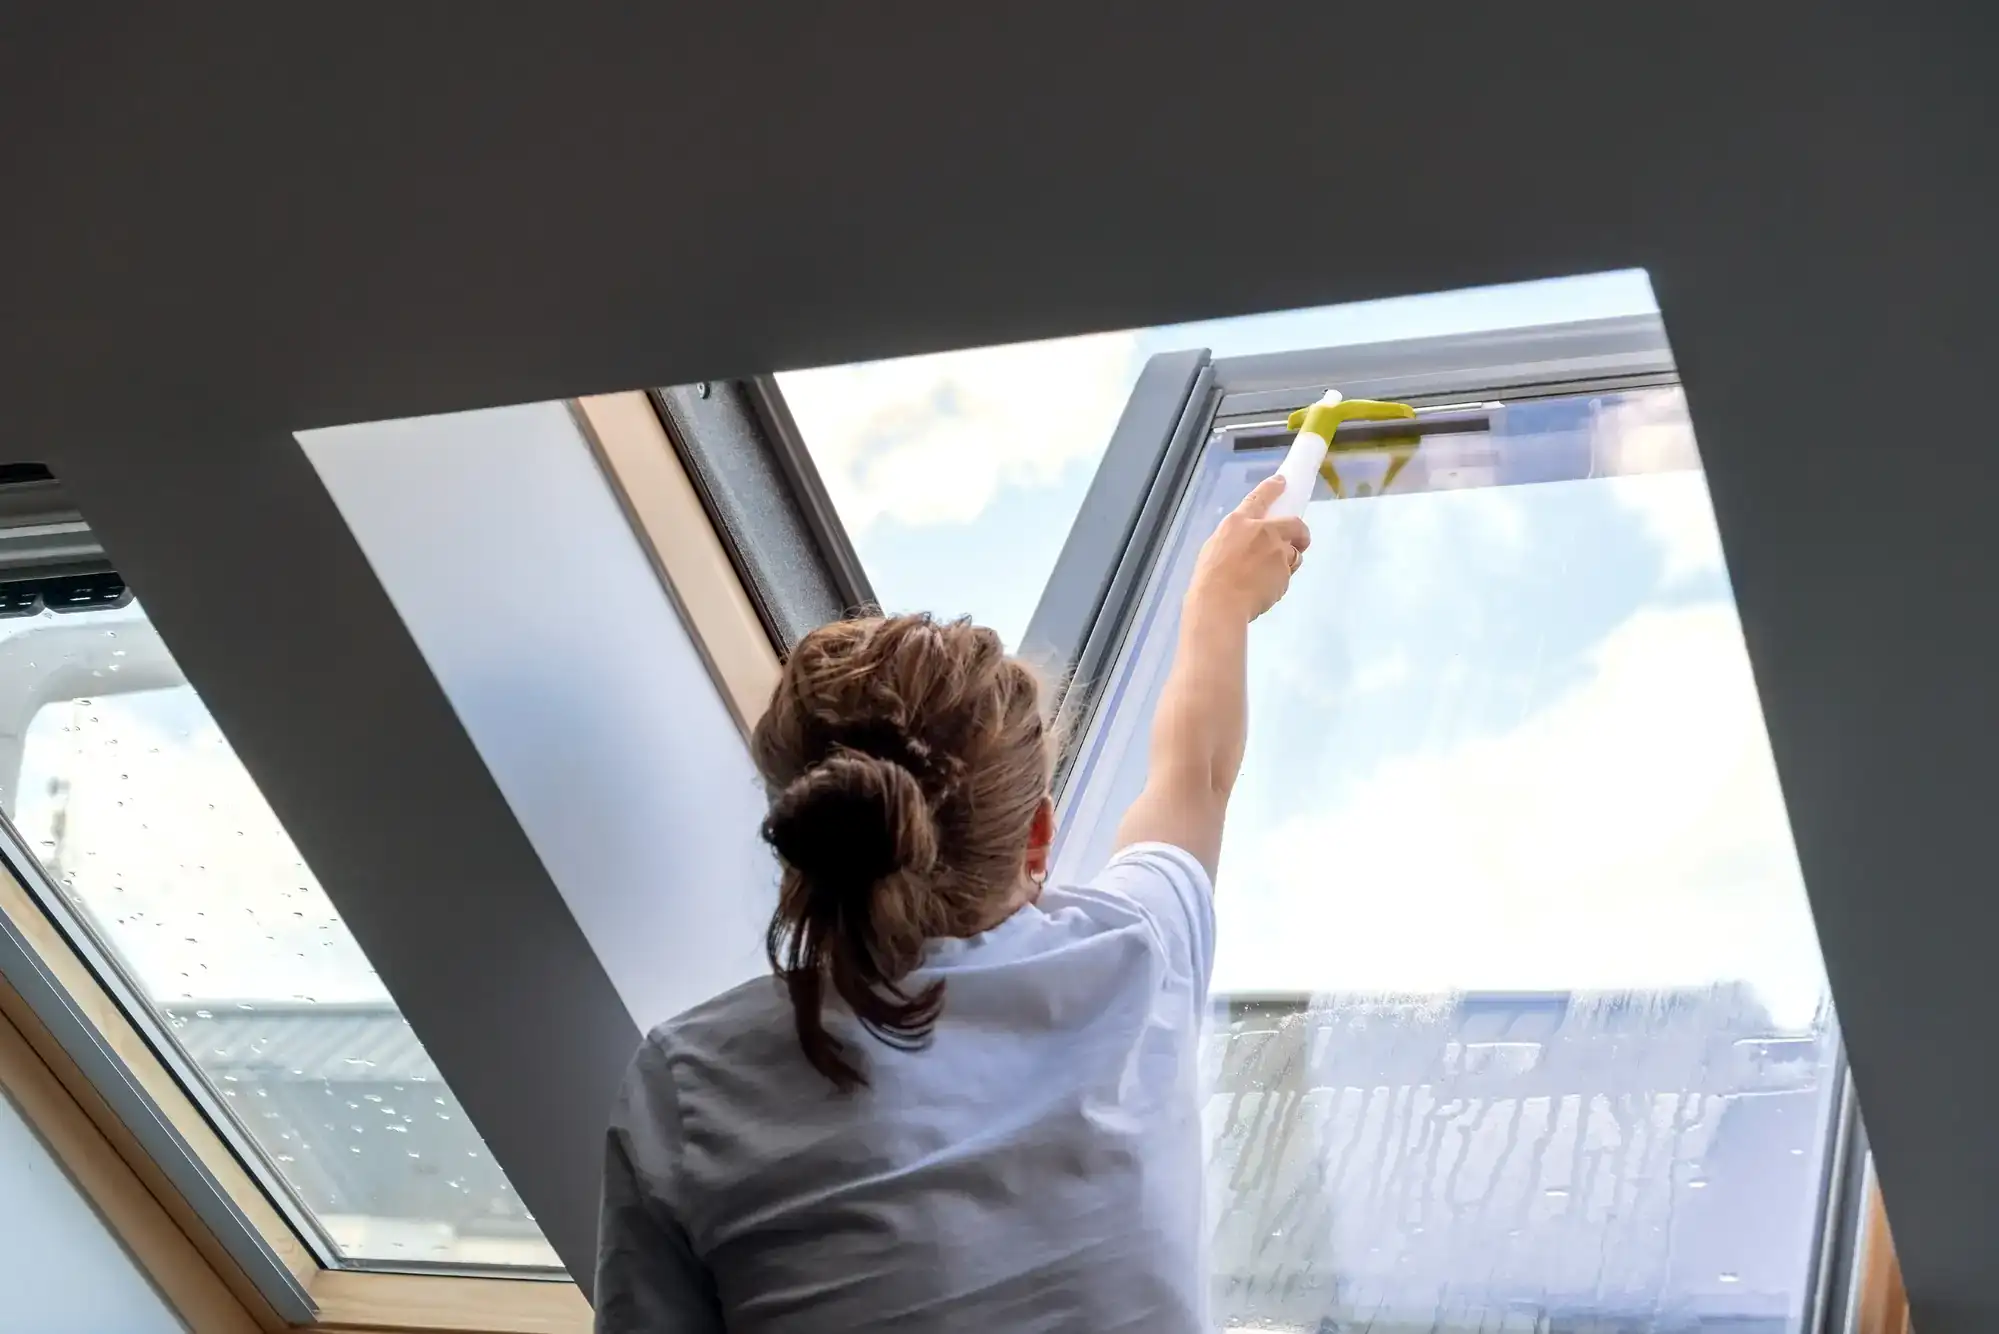
Condensation can mimic a leak even when no water is coming through the roof. When warm, humid indoor air hits a cold skylight surface—common during Long Island winters—moisture forms and drips down just like a leak would. This isn’t a roof problem; it’s a ventilation or insulation issue. The solution involves improving airflow around the skylight or adding insulation to prevent the temperature differential that causes condensation.
The skylight seal itself can fail, particularly on older units. The gasket that seals the glass to the frame deteriorates from UV exposure and temperature extremes. When this happens, water can seep between the panes or around the frame. If you see fog or moisture trapped between glass layers, the seal has definitely failed and the unit likely needs replacement rather than repair.
Sometimes the problem isn’t the skylight at all—it’s the roof around it. Damaged shingles, deteriorated underlayment, or roof deck issues near the skylight can allow water to travel along the roof structure and appear to be coming from the skylight when it’s actually entering somewhere else. This is why professional diagnosis matters. Fixing the wrong problem wastes money and leaves the real issue unaddressed.
Age and improper installation create long-term problems. Skylights installed without adequate structural support, improper pitch for drainage, or incompatible materials will eventually leak regardless of how well they’re maintained. When a skylight was never installed correctly, repairs become temporary patches rather than permanent solutions.
Repairing a leaking skylight makes sense when the unit itself is sound and the problem is limited to flashing, seals, or minor damage. We can remove and replace deteriorated flashing, reseal the frame, or repair small cracks in the dome or glass. These repairs typically cost $450 to $1,500 depending on the extent of work needed, and they can extend the life of your skylight by years.
Replacement becomes the better option when the skylight is old, when leaks persist despite repairs, or when the unit shows multiple signs of failure. If your skylight is over 20 years old, has foggy or cracked glass, or leaks from multiple points, replacement usually makes more financial sense than attempting repairs. Modern skylights offer significantly better energy efficiency, stronger materials, and improved sealing systems compared to units installed even a decade ago.
The decision often comes down to the skylight’s overall condition and your long-term plans for the home. If you’re dealing with a relatively new skylight that developed a flashing leak, repair it. If you’re looking at an aging unit with multiple issues, replacement gives you decades more service and eliminates the anxiety of wondering when the next leak will appear.
Cost is obviously a factor, but it shouldn’t be the only one. A $500 repair that buys you two more years before replacement is needed might not be the best value compared to a $2,000 replacement that solves the problem permanently and improves your home’s energy efficiency. A professional assessment gives you the information you need to make that call with confidence.
Skylights done right transform how your home feels every single day. Rooms that were dark and uninviting become spaces you actually want to spend time in. Energy bills drop because you’re not running lights all day. And when you decide to sell, buyers notice the natural light immediately—it’s one of those features that consistently adds value.
The difference between a skylight that delivers those benefits and one that becomes a constant source of stress is the installation. Proper flashing, correct sealing, appropriate skylight selection for the space, and understanding how Long Island’s climate affects every exterior component of your home—that’s what separates professional work from problems waiting to happen.
Whether you’re considering a new skylight installation or dealing with a leak that needs attention now, the next step is straightforward: get a professional assessment from someone who knows Long Island roofs and has the experience to do the job right. We’ve been handling skylight installations and repairs across Nassau and Suffolk Counties for over 22 years, and we’re available whenever you need us.
Article details:
Share:
Continue learning: